
Fixing a Honda Civic front bumper can vary depending on the extent of the damage. Here are some general steps and tips to follow:
- Assess the damage: Determine the extent of the damage to the bumper. If it’s a minor scratch or dent you may be able to fix it yourself. If it’s more severe you may need to replace the entire bumper.
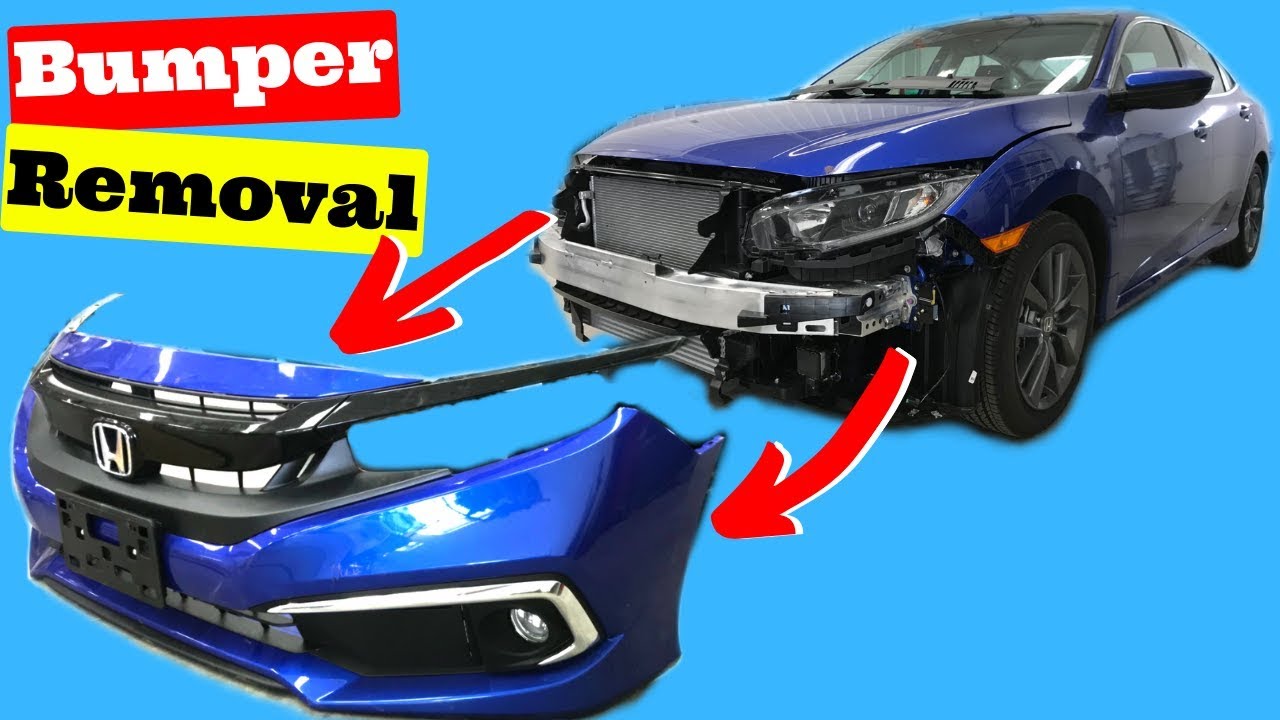
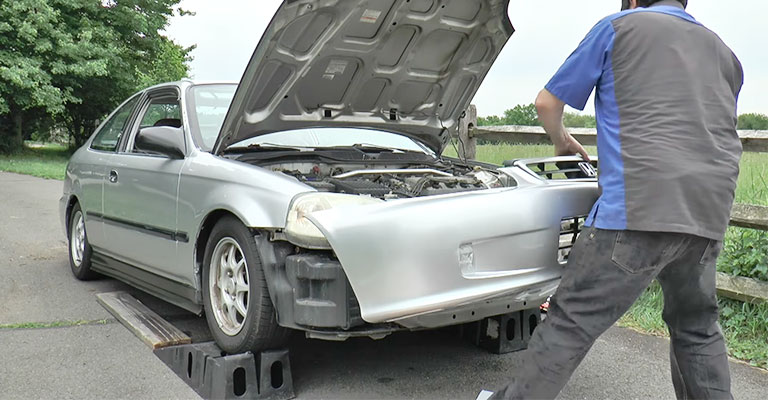
- Remove the bumper: If you need to replace the bumper you’ll need to remove the old one first. This typically involves removing screws clips and bolts that hold the bumper in place. You can find step-by-step instructions for removing the front bumper on a Honda Civic in.
- Replace the bumper: Once you’ve removed the old bumper you can replace it with a new one. You can purchase a new bumper cover from a Honda dealership or an auto parts store. The cost of a new bumper cover can range from $200 to $1500 depending on the vehicle.
- Repair the bumper: If the damage is minor you may be able to repair the bumper yourself. You can find step-by-step instructions for repairing a Honda Civic bumper in. Some common methods for repairing a bumper include using epoxy or filler to fill in scratches or dents.
- Reinstall the bumper: Once you’ve repaired or replaced the bumper you can reinstall it on your Honda Civic. You can find step-by-step instructions for reinstalling the front bumper on a Honda Civic in and.
Overall fixing a Honda Civic front bumper can be a DIY project if the damage is minor. However if the damage is severe it’s best to take your car to a professional mechanic or body shop.


- What are the common types of damage that can occur to a Honda Civic front bumper and how can one determine the severity of the damage?
- Are there any specific tools or materials required to fix a Honda Civic front bumper and what level of automotive repair experience is typically needed to perform the repairs successfully?
- Can Removing Brake Hold Impact the Front Bumper of a Honda Civic?
- Can you provide a step-by-step guide or video tutorial for fixing a Honda Civic front bumper highlighting any potential challenges or safety precautions that should be taken during the process?
- Helpful Resources
What are the common types of damage that can occur to a Honda Civic front bumper and how can one determine the severity of the damage?
Common types of damage that can occur to a Honda Civic front bumper include:
- Scuffs and Scratches: Minor scuffs and scratches are common and can be caused by parking lot incidents minor collisions or contact with objects.
- Cracks and Holes: More severe damage can result in cracks or holes in the front bumper. This can occur from higher impact collisions or accidents.
- Paint Damage: The paint on the front bumper can be chipped peeled or faded due to exposure to the elements or minor impacts.
Determining the severity of the damage to a Honda Civic front bumper can be done through visual inspection and considering the following factors:
- Extent of Damage: Assess the size and depth of any scuffs scratches cracks or holes on the bumper. Superficial damage may be less severe compared to deep cracks or extensive paint damage.
- Structural Integrity: Check if the bumper is loose misaligned or falling off the vehicle. This can indicate more severe damage that may require replacement.
- Impact on Functionality: Consider if the damage affects the functionality of the bumper such as impairing the ability to absorb impact or compromising the integrity of the bumper’s protective features.
- Professional Assessment: If unsure about the severity of the damage it is recommended to consult a professional such as an auto body shop or mechanic who can provide a more accurate evaluation.
It’s important to note that severe damage such as deep cracks holes or significant structural issues may require bumper replacement rather than repair. The cost of repairing or replacing a bumper can vary depending on the extent of the damage and the specific model of the Honda Civic ranging from $500 to over $2000 for more serious damage fixes.
Are there any specific tools or materials required to fix a Honda Civic front bumper and what level of automotive repair experience is typically needed to perform the repairs successfully?
To fix a Honda Civic front bumper some specific tools and materials may be required depending on the extent of the damage. A bumper repair kit such as the Bondo Bumper Repair Kit or the Plastic Welder Kit may be needed for permanent non-shrinking repairs. Other tools that may be useful include hot staplers edge crimping pliers and staple repair tools.
The level of automotive repair experience needed to perform the repairs successfully may vary depending on the complexity of the repair. Some repairs such as filling in scuffs or scratches with a bumper repair kit may be relatively simple and require minimal experience. However more complex repairs such as heat fusing and grinding a “V” groove and filling with polypropylene filler material and structural support may require more advanced knowledge and experience.
It is important to note that improper use of tools or materials can result in injury damage or loss. If you are unsure about your ability to perform the repairs it may be best to seek the assistance of a professional.
Can Removing Brake Hold Impact the Front Bumper of a Honda Civic?
Yes, could impact the front bumper if not done carefully. Without the brake hold engaged, the vehicle may roll forward or backward, potentially causing damage if not controlled. It’s important to consider the potential risks before removing brake hold on a Honda Civic.
Can you provide a step-by-step guide or video tutorial for fixing a Honda Civic front bumper highlighting any potential challenges or safety precautions that should be taken during the process?
Here is a step-by-step guide for fixing a Honda Civic front bumper along with potential challenges and safety precautions to take during the process:
- Remove the front bumper cover by following the steps in a tutorial video such as or. Be sure to disconnect any electrical connections and remove any screws or bolts holding the bumper in place.
- Inspect the bumper for damage. If the bumper is cracked or has holes it may need to be replaced. If it is just scratched or scuffed it can be repaired.
- If the bumper needs to be replaced follow the steps in a tutorial video such as or to install the new bumper cover. Be sure to align it properly and secure it with screws or bolts.
- If the bumper can be repaired sand the damaged area with sandpaper until it is smooth. Clean the area with soap and water and then wipe it down with rubbing alcohol.
- Apply a plastic bumper repair kit to the damaged area following the instructions on the kit. This may involve mixing two-part epoxy or using a heat gun to melt the plastic.
- Sand the repaired area until it is smooth and then paint it to match the rest of the bumper. Follow the steps in a tutorial video such as or to paint the bumper.
Potential challenges during the process may include:
- Electrical connections: Be sure to disconnect any electrical connections before removing the bumper cover and reconnect them properly when reinstalling the cover.
- Alignment: When installing the new bumper cover be sure to align it properly with the rest of the car. This may require adjusting the position of the cover or the brackets holding it in place.
- Painting: Painting the bumper to match the rest of the car can be challenging. Be sure to use the correct type of paint and follow the steps in a tutorial video such as or.
Safety precautions to take during the process may include:
- Wear gloves and eye protection when sanding or using the plastic bumper repair kit.
- Work in a well-ventilated area when painting the bumper.
- Use caution when removing and reinstalling the bumper cover to avoid damaging other parts of the car.
Helpful Resources
- https://www.jrin.net/2007_09_14/howto-civic-front-bumper-removal
- https://hondatheotherside.com/how-to-fix-a-loose-front-bumper-on-a-honda-civic/
- https://youtube.com/watch?v=9V0JdnRJHQQ
- https://youtube.com/watch?v=t6-yAWvipcU
- https://youtube.com/watch?v=ELyLyFCN4TE
- https://autorideup.com/how-to-remove-brake-hold-honda-civic/